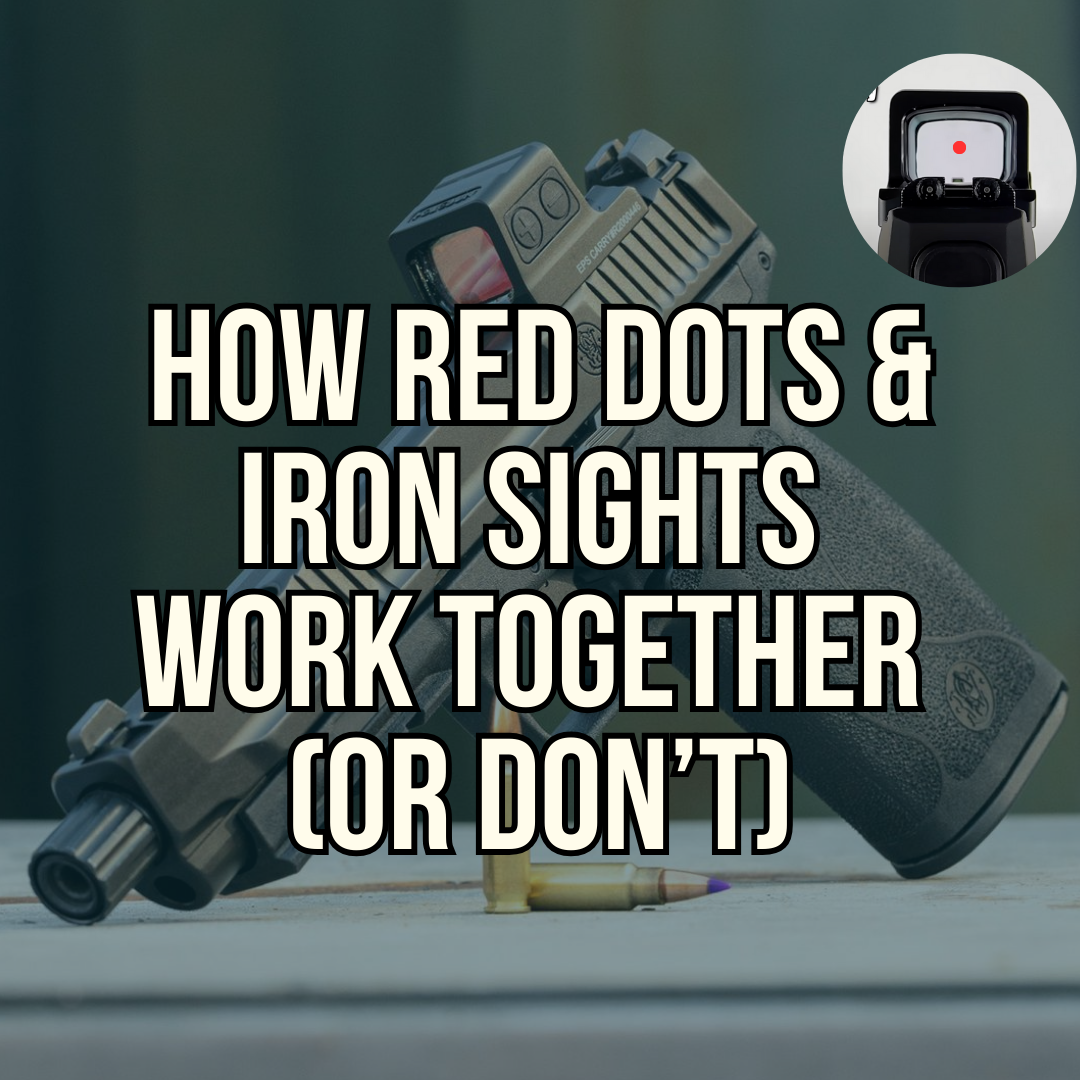
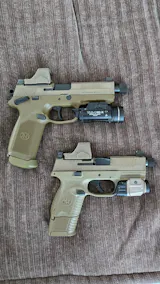
When it comes to aiming systems on pistols, there’s a common misconception that red dots and iron sights need to align perfectly to work together. The truth is, they’re completely independent systems, each with its own way of helping you hit your target.
Iron Sights VS Optics - Height Over Bore Explained
To understand why this is the case, let’s use a simple analogy: imagine there’s a bird feeder in your yard, and you’re inside your house.

If you’re on the first floor, you might look at the bird feeder through a window on that level. That’s like using your iron sights. If you go upstairs and look out a window on the second floor, you can still see the bird feeder, but now it’s from a higher angle. That’s like using a red dot. Both views are focused on the same bird feeder, but they’re independent perspectives—they don’t rely on each other.
The reason this works boils down to a concept called “height over bore.” This is a technical term that simply refers to how far the aiming device—whether it is iron sights or a red dot—sits above the pistol’s barrel.

Iron sights are mounted closer to the barrel, which is like that first-floor window providing a lower perspective. A red dot, on the other hand, sits higher up, like the second-floor window, giving you a different line of sight. Both systems are designed to account for the bullet’s trajectory, meaning they each work independently to ensure your shot lands on target.
You might wonder why the red dot doesn’t need to line up with the iron sights. The answer lies in how each system is calibrated. The iron sights provide their own aiming path, and the red dot projects its own line of sight from its higher position. These two paths are separate but still aim at the same point—the target you’re shooting at. This independence is actually a major benefit. It means you can use your red dot for faster target acquisition without worrying about aligning it with your iron sights. And if the red dot ever fails, your iron sights are there as a backup, assuming your pistol can cowitness – you can check our co-witnessing guide.
Red Dots on Pistols Function Differently Than On Rifles
Red dots on pistols work very differently than red dots on rifles, and if you’re familiar with AR-15 red dots, this distinction is important to understand. On an AR-15, the red dot is usually mounted in a way that aligns with the iron sights. If you have an “absolute co-witness” setup, for example, the red dot and the iron sights both sit on the same plane and align perfectly when you’re aiming. This makes sense for rifles because they’re designed for two-handed shooting with a consistent cheek weld, giving you a stable sight picture.

With pistols, it’s a completely different story. A red dot on a pistol is mounted much higher above the bore compared to rifle setups, and the way you hold and aim a pistol is far less rigid than a rifle. On a pistol, the red dot and iron sights don’t naturally align because they’re independent systems. The iron sights are lower, closer to the barrel, while the red dot sits higher. Instead of expecting the two to line up, you should treat them as separate tools. Each is calibrated to hit the same target, but they work from their own positions.
This difference can be confusing for people transitioning from rifles to pistols. With rifles, you may have relied on the co-witnessed alignment as a way to verify your red dot’s accuracy. On pistols, however, you don’t need that alignment. The red dot is there to let you aim quickly and focus on the target, not the sight picture. The iron sights are simply a backup, there to help if your red dot fails.
Zeroing A Red Dot For Pistols
When you zero a red dot, you’re aligning the dot to match where the bullet impacts at a specific distance. For pistols, this is often set at 15-25 yards. This distance works well because it provides a practical balance for shooting at both close and long ranges. However, it’s important to understand how the red dot and bullet path interact at different distances.

Bullets travel in a straight line when they exit the barrel. Gravity begins pulling them downward as they travel further, creating the curved trajectory we’re familiar with over longer distances. But at close ranges, this curve is negligible, and the bullet’s path appears almost perfectly straight.
For pistols, the red dot sits higher than the barrel (a concept called height over bore). This means that when you aim with the red dot, it isn’t perfectly aligned with the bore of the barrel. Instead, the two lines—the sightline of the red dot and the bullet’s path—intersect at a certain point. Most pistol red dots cannot be effectively sighted in at very short distances like 5 yards. Typically, the straight line of the barrel and the red dot’s sightline first intersect at 15 to 18 yards.
When you zero your red dot at 15 to 25 yards, you’re creating an alignment where the bullet’s path and the red dot’s aim coincide at that distance. At closer distances, such as 5 yards, the red dot will appear higher than the bullet’s actual point of impact. This is because of the height over bore difference; the bullet hasn’t traveled far enough to align fully with the red dot’s sightline yet. While this difference exists, it’s minimal at close range and does not significantly affect accuracy for most practical purposes.
The key takeaway? Zero your red dot at 15 to 25 yards for optimal performance. At shorter ranges, practice to become familiar with the slight offset between the red dot and bullet impact. This awareness ensures your shots remain accurate and effective whether you’re shooting close, far, or anywhere in between.
Need help zeroing your red dot? We have two video's to show you exactly how to do it:
At the range:
At home with a laser boresighter:
Lollipop Method

If you have iron sights that co-witness, (if you're not sure
This method helps you get the red dot close to zero without firing a shot, making it a great starting point before fine-tuning at the range. By aligning the red dot above the front sight, you’re ensuring the dot is roughly aligned with your iron sights' point of aim. From there, you can make any necessary adjustments using live fire to dial in your red dot. Again this will only work if your set up has iron sights that co-witness, and once you adjust the red dot you will still need to take it to the range to fine tune it.
Conclusion
Whether transitioning from rifles to pistols or exploring red dots for the first time, embracing these concepts empowers you to use your gear with confidence. Red dots and iron sights don’t need to work together—they’re perfectly capable of standing on their own to help you hit your mark.

