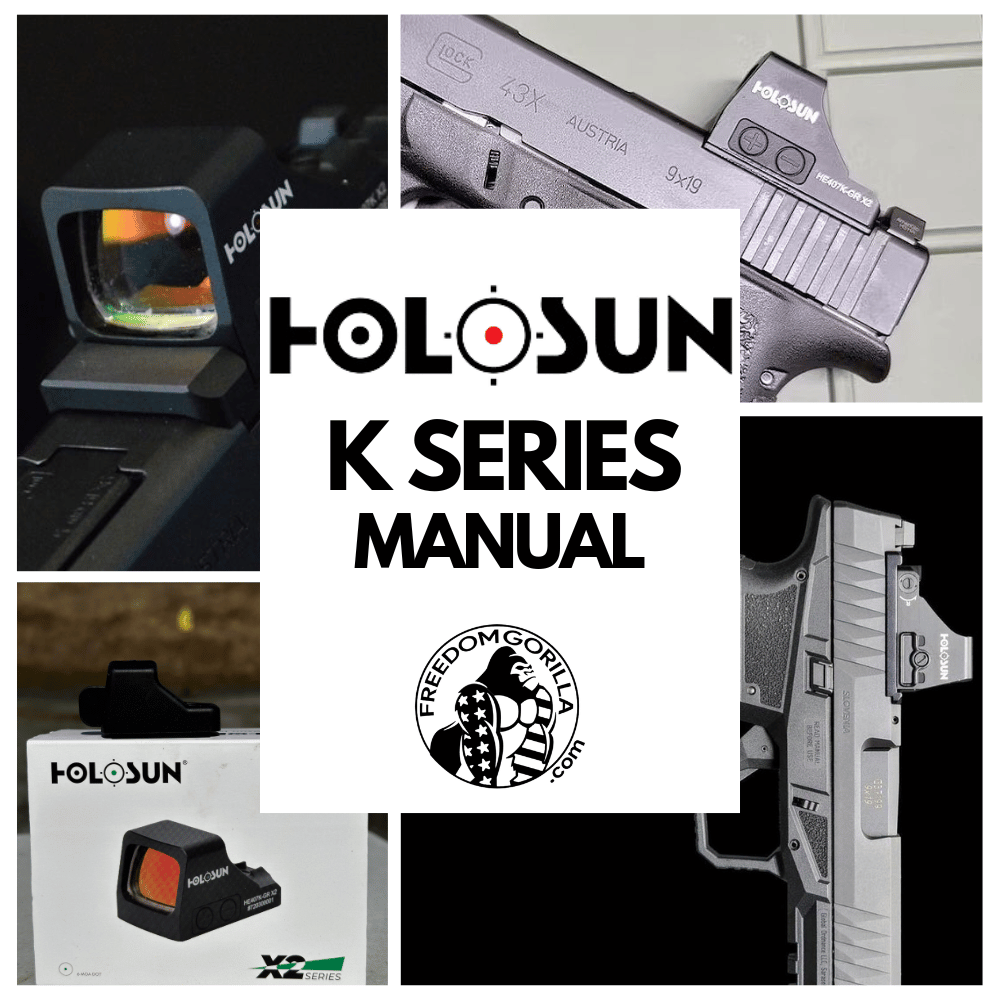
We get it, manuals are packed with technical jargon and bad illustrations, or maybe you lost yours and now want to learn more. You’re not alone. Freedom Gorilla’s got you covered. Here’s a breakdown of the Holosun 407K and 507K manual into easy-to-understand sections, complete with videos to guide you through each step. From unboxing to installation, and all the way to maintenance and warranty details, we will simplify everything you need to know. Dive in and discover how to get the most out of your Holosun sight without the hassle.
If you want to see the actual user manual, click the links below:
What’s Included In The Box
Congratulations on your new Holosun optic! Before you mount it, let's open up the box and ensure everything is in perfect condition. This is the ideal time to check for any issues, as it's much easier to initiate a return now if something isn't right for you. For example, if you have an astigmatism you didn't know about, you might find the reticle blurry, which is a common issue that can be addressed early.

When you open the box, you can expect to find the following items:
- Holosun Warranty Card: Ensure you register your product for warranty coverage.
- Physical Copy of the Manual: Keep this handy for any quick reference needs.
- The Optic Itself: Your new Holosun 407K or 507K, ready for installation.
- Lens Cloth: Use this to keep your optic clean and clear.
- Multitool: This tool helps with installing screws to the slide and opening the battery tray.
- Screws: Holosun Includes M3x12mm and M4x12mm screws. Depending on your firearm, you might need to source alternative screws. Check our fitment guide to ensure you get the proper screws.
One thing to note, the battery will already be installed in your 407K or 507K. So, if you've previously purchased a rifle optic that came without the battery installed, there's no need to worry – you haven't received a used optic. Now, let's proceed with the installation!
Installing Your 407K or 507K on the Slide
Installing your Holosun 407K or 507K optic on your slide is a straightforward process, but first, you need to ensure it will fit. These models use a modified RMSc footprint, so verify compatibility with your slide. If you mistakenly ordered an RMR footprint optic like the 407C or 507C, now is the perfect time to set up a return before attempting installation. To learn more about that specific footprint, check out our guide on the K Series Footprint.
Additionally, some firearms require adapter plates for proper installation. Refer to our fitment guide to check if you need an adapter plate for your specific firearm.
To install the optic:
- Placement: Position the optic on the compatible slide cut or adapter plate.
- Screws: Use the screws included in the red dot box or the screws provided with your adapter plate, depending on your situation.
- Thread Locker: If your screws don't have blue thread locker, you can purchase a USA-made, oil-resistant tube from Freedom Gorilla, ensuring it won't be affected when you clean your slide.
- Screw Installation: Apply the blue thread locker to the screws and tighten them to 15 INCH/lbs. If you don't have a torque screwdriver, Freedom Gorilla offers options from Wheelers that are ideal for this task.
- Final Check: Verify proper clearances and firearm function before use to ensure everything is correctly installed.
Following these steps will help you securely install your optic and be ready for action in no time. And obviously if you don’t feel comfortable installing the red dot yourself, you can always find a local gunsmith to do it for you.
Optic Sight Operations
Turning the Red Dot On and Off
To turn the red dot on, simply press and release either brightness button (+ or -). To turn the red dot off, press both the (+ and -) buttons simultaneously. Please note that manually turning off the optic also disables the Shake Awake feature.
Operation Modes
The Holosun 407K and 507K feature two operation modes: Manual Mode and Lockout Mode.
Manual Mode
In Manual Mode, you can adjust the brightness manually by pressing either the (+) or (-) buttons. There are 12 brightness settings, with setting 6 providing up to 50,000 hours of battery life for the dot-only 407K. Settings 1 and 2 are compatible with night vision, while setting 12 is the brightest.
Lockout Mode
Lockout Mode disables all button functions, preventing any adjustments or turning off the optic, making it ideal for concealed carry to avoid accidental changes. To enter Lockout Mode, hold the (+) button for 3 seconds until the LED blinks once. To exit, hold the (+) button for 3 seconds again until the LED blinks once.
Note, one of the most common concerns we hear from customers is that they think their optic is defective when in reality they unknowingly put it in lockout mode. If the buttons are not working for you, and they did previously, the first step in troubleshooting is to see if the optic is in lockout mode.
Sleep Time Setting
The Sleep Time Setting can be one of the most confusing topics for new users. This setting allows you to adjust your optic's Shake Awake sleep timer, which means the optic will turn on instantly with any motion to the last saved brightness level. By default, your optic is set to turn off after 10 minutes of no movement, but this is adjustable.
To enter adjustment mode, press and hold the (+) button for 10 seconds. Note that if you hold it for only 3 seconds, the LED will blink to switch to Lockout/Manual Mode, so make sure to keep holding it. Once in adjustment mode, there are four options for your Shake Awake sleep timer: 10 minutes, 1 hour, 12 hours, or disable sleep mode. The LED blinks indicate the time you’ve selected: 1 blink for 10 minutes, 2 blinks for 1 hour, 3 blinks for 12 hours, and 4 blinks to disable the sleep timer. You can select the desired time by pressing the (+) or (-) buttons.
Once you've chosen your preferred time, press both the (+) and (-) buttons simultaneously to save the setting. This action will power the optic off, so to turn it back on, press either the (+) or (-) button.
Changing the Reticle on the 507K
The 507K features Holosun's Multi-Reticle System (MRS), offering flexibility not available on the 407K, which is available only with a 6 MOA dot. The MRS reticle on the 507K includes a 2 MOA dot and a 32 MOA circle, allowing you to pick which reticle you want. You can choose to display only the 2 MOA dot, only the 32 MOA circle, or both combined.
To change the reticle, simply press the (-) button for 3 seconds. This will cycle through the reticle options, giving you the ability to select the one that best suits your needs.
The Battery
Your Holosun optic comes with a CR1632 lithium battery already installed. On setting 6, with just the dot only, the battery should last up to 50,000 hours. If the battery voltage drops below 2.2Vdc, the reticle will blink slowly until the battery is replaced. It’s important that when you do need to replace the battery, do not use a rechargeable battery.
From a customer service standpoint, many optic issues can be resolved by removing the battery, waiting a few seconds, and then reinstalling it. To remove the battery tray located on the side of the optic, use the multitool provided by Holosun. When reinstalling the battery, ensure the POSITIVE side is facing DOWN. Then, reinsert the battery tray and tighten the screws.
If you lose the battery tray screws for the 407K or 507K, replacements can be purchased from Freedom Gorilla. If the battery tray itself is lost, contact Holosun for a free replacement.
How To Zero Your Optic
Zeroing your red dot can be a bit technical, but we'll break it down so everyone can understand. Your Holosun red dot has been factory zeroed for approximately 25 yards, so it should require minimal adjustments at that distance. If you find that you're not hitting the target at 25 yards while freehand shooting, it might be due to user error (sorry!). To limit variables, try sitting at a bench with a shooting rest bag and aim again at 25 yards.
To re-zero your red dot for other distances, you'll need the multitool provided by Holosun. The elevation adjustment is located on the rear section of the red dot, while the windage adjustment is on the right side of the housing.
Elevation refers to the up-and-down adjustment of the reticle, allowing you to move the point of impact higher or lower. Windage refers to the left-and-right adjustment, allowing you to move the point of impact to the left or right.
To adjust elevation or windage, insert the flat-tipped end of the multitool into the turret slot and rotate. Each adjustment click moves the point of impact by approximately 1 MOA (Minute of Angle), which is about 1 inch at 100 yards, 1/2 inch at 50 yards, and 1/4 inch at 25 yards.
For example, if your shots at 25 yards are hitting 2 inches low and 1 inch to the right, you need to adjust the elevation 8 clicks up (counterclockwise) and the windage 4 clicks left (clockwise). Here's how you can understand it better:
- Each click moves the point of impact by 1/4 inch at 25 yards.
- Since you're 2 inches low, you need to move the point of impact up by 8 clicks (2 inches divided by 1/4 inch per click = 8 clicks).
- Since you're 1 inch to the right, you need to move the point of impact left by 4 clicks (1 inch divided by 1/4 inch per click = 4 clicks).
The maximum adjustment range is +/- 30 MOA. If you feel that the adjustment knobs can no longer be rotated, you've likely reached the mechanical limit of the turret. Do not force the knobs further, as this can cause damage.
If you need a little extra help zeroing your red dot, we highly recommend trying a laser boresighter. Just chamber the boresight like you would a regular bullet, and a laser dot will show you exactly where your rifle is aiming. This nifty tool lets you sight in any scope without firing a single shot! You’ll only need to do some live fire to fine-tune your weapon for things like bullet drop due to distance.
Optic Maintenance & Care
Your Holosun optic lenses are made from multicasted optical glass, here’s how to maintain their clarity. Here’s how to keep them in top condition:
- Cleaning the Lenses:
- Blow away any dust on the surface.
- Wet the lens with a lens cleaner or clean water.
- Wipe away smudges with lens pens, soft cotton, or a microfiber cloth.
- Avoid touching the glass surface with dry cloth or tissue paper.
- Do not use organic solvents such as alcohol or acetone.
- Avoid Dismantling:
- Do not try to dismantle the device to clean. The internal parts are specially cleaned and sealed, and dismantling the optic will void the warranty.
- Recommended Cleaning Tool:
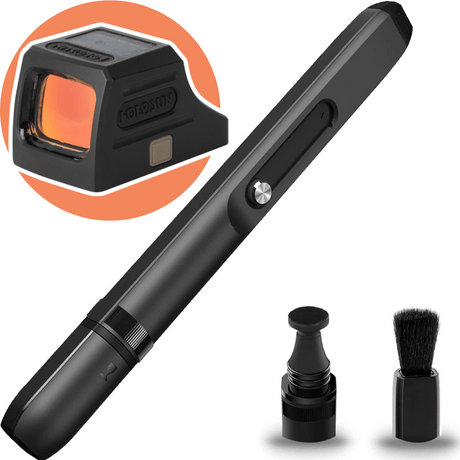
- We recommend using a lens cleaning pen for the easiest maintenance. This Lens Pen ironically from Vortex is perfect for removing smudges, dust, and oily fingerprints. It features:
- Safe and easy use on all lenses.
- Reduced static charge build-up.
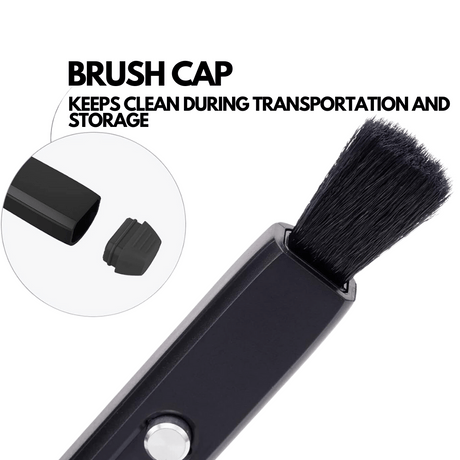
- A retractable natural hair brush to remove dust.
- Protection During Storage:
- To prevent dust and moisture from affecting your optic while in storage, use a cover. Crafted from top-tier soft rubber, these covers ensure optimal protection against dust, scuffs, and scratches. They offer a snug and secure fit for every piece, providing hassle-free installation and removal, keeping your optics in pristine condition.
By following these maintenance tips, you’ll keep your Holosun optic performing at its best for years to come.
Warranty Information
Holosun has an amazing warranty and stands firmly behind their products. They are great to work with for any issues, and as long as the item isn't obviously broken from misuse, they'll help you out. Here are the specifics of their warranty:
- Coverage: Holosun provides a limited lifetime warranty from the date of purchase on parts and workmanship to the original purchaser.
- Repair or Replacement: At Holosun's discretion, they will repair or replace products found to be defective under normal use without charge, excluding delivery costs.
- Warranty Conditions: The warranty becomes void if the product has been misused, modified, neglected, or disassembled prior to its return.
- All Holosun warranty information can be found on their warranty page.
For additional peace of mind, Freedom Gorilla also offers hassle-free returns with purchases made within 30 days. More information can be found on our returns page.

